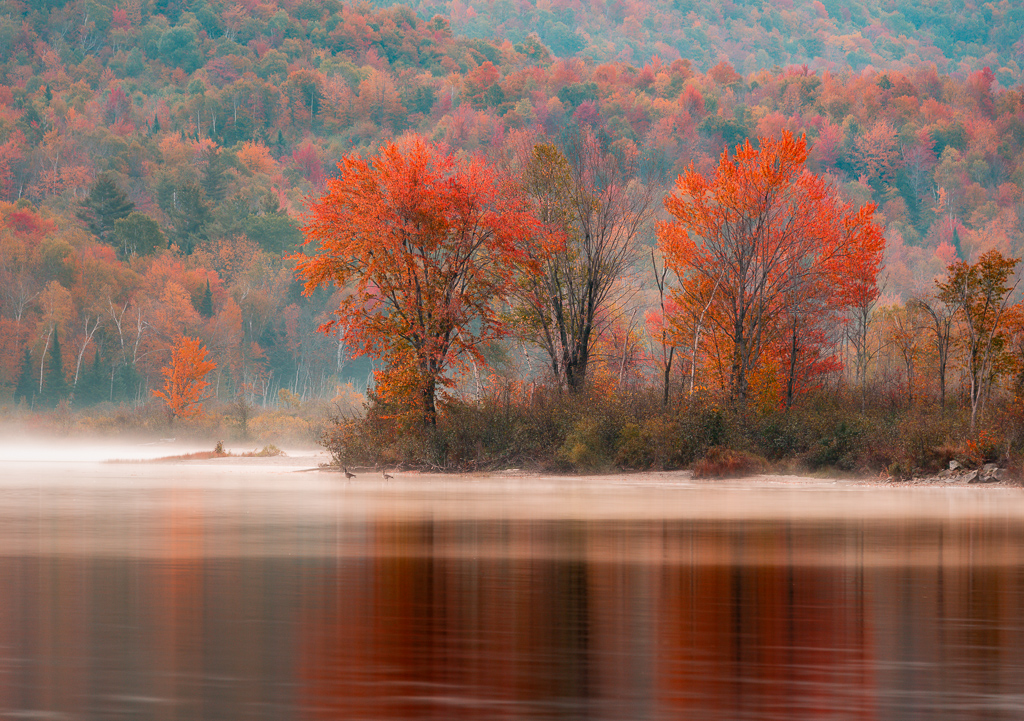
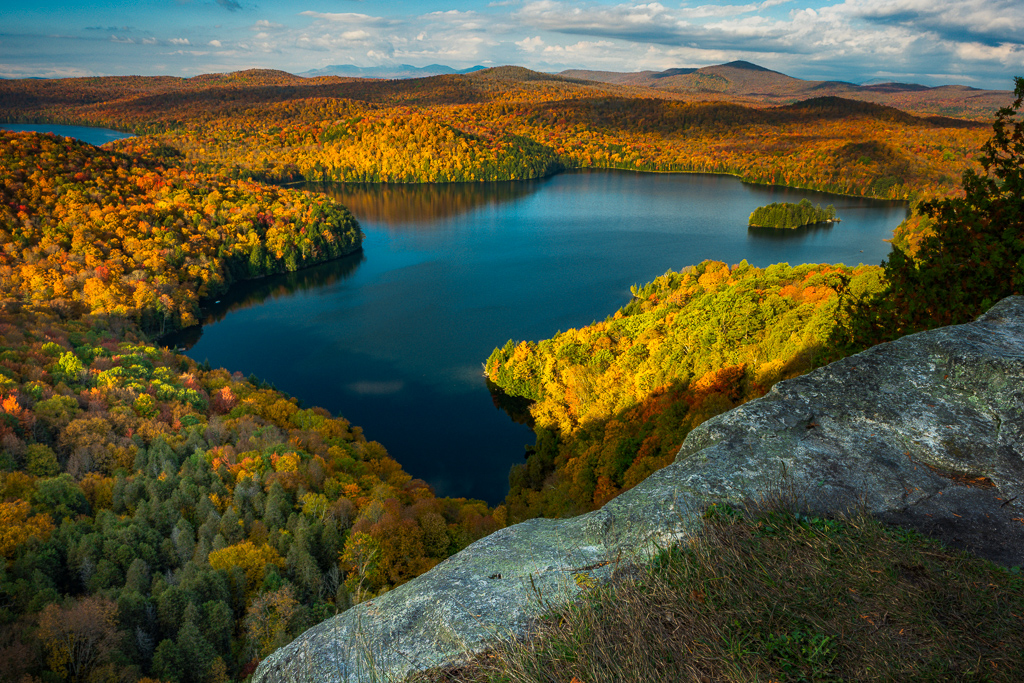
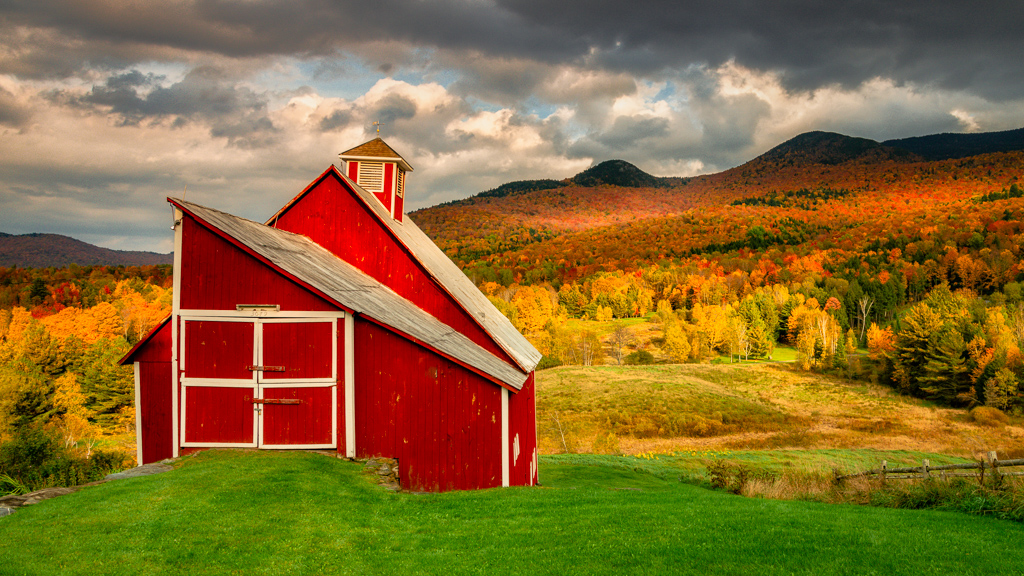
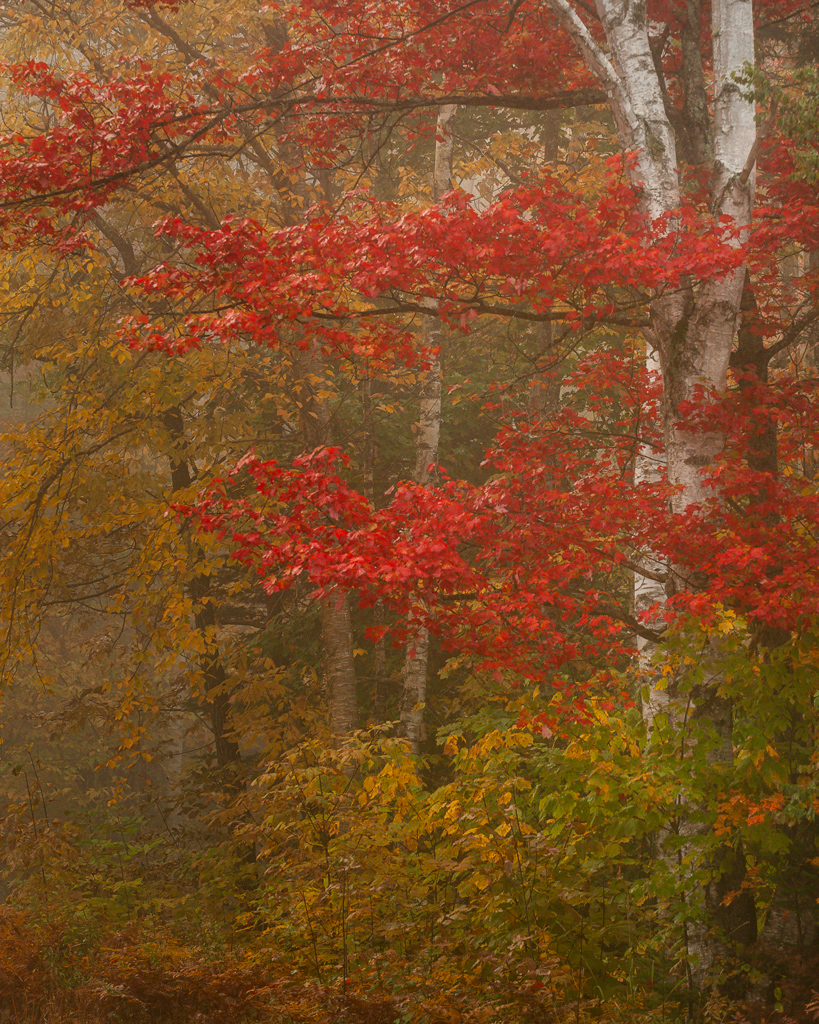
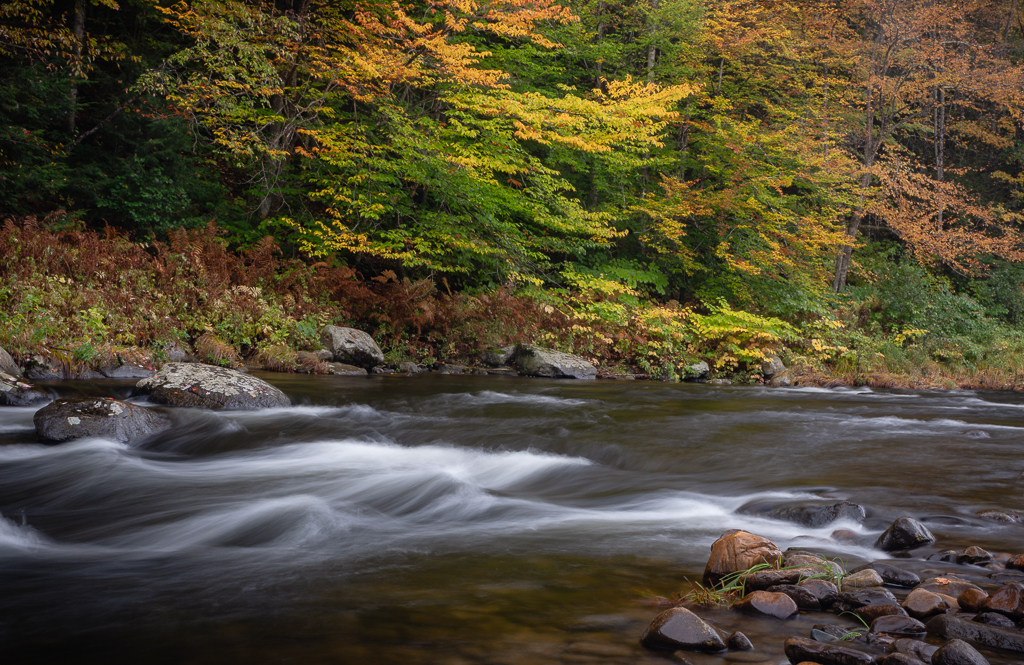
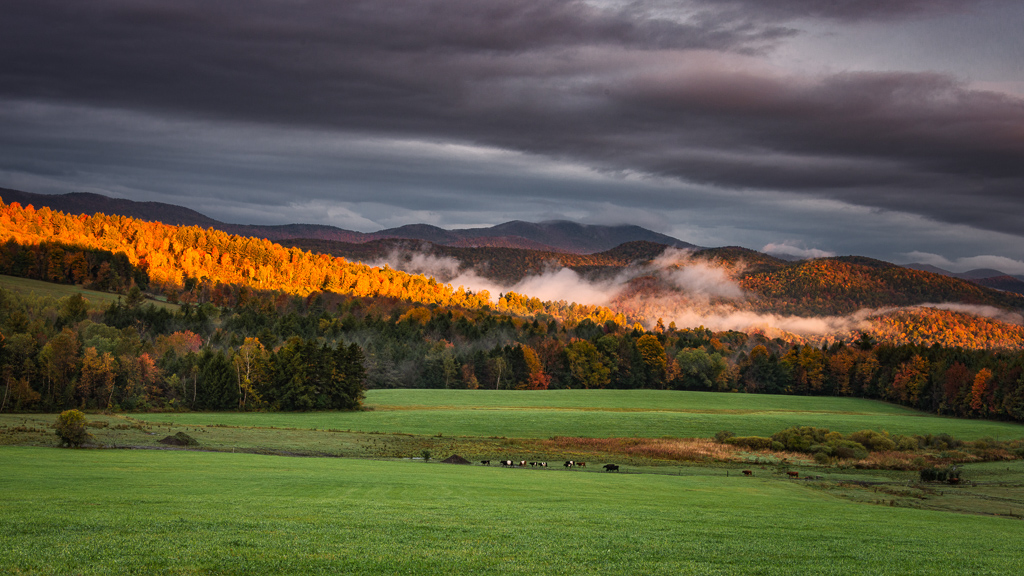
Few things get photographers more excited than the beginning of autumn. Mother Natures’ annual fireworks display’s anticipation starts the juices following and visions orange and crimson dance in their heads. It is a time of year when a photographer can and will use everything in their bag. Hillsides, mountains, valleys, rivers, streams, lakes are favorites of all landscape photographers, and at this time of year, they are dressed in their Sunday best. Even color itself becomes a subject at this time of year.
For the photographer lucky enough to spend time in the outdoors and camera at their side, they suddenly wish they could be in eighty places at once. When the conditions are right, it can get crazy. It’s also important to take time to slow down, observe, and enjoy your surroundings.
Good autumn photography takes some planning and having and using the right tools. Actually, those two items are the same – good planning is an effective tool. Tools come from everywhere and in all shapes and sizes. There are the tools you keep in your cameras bag, the tools you wear, and the tools that educate and inform you. I will start in the most logical of places, your camera bag.
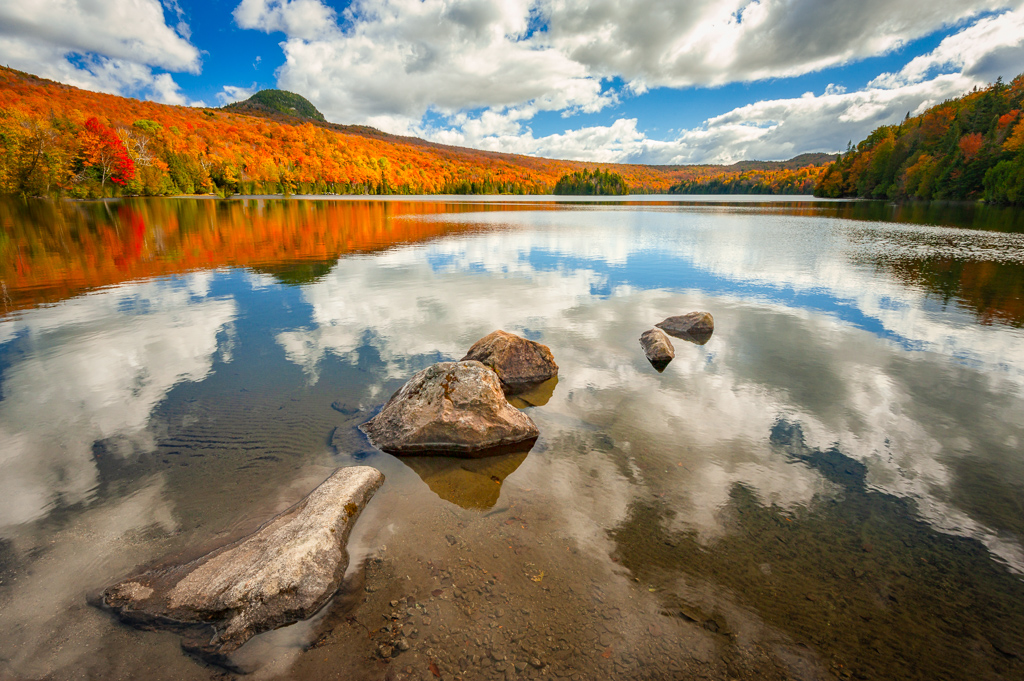
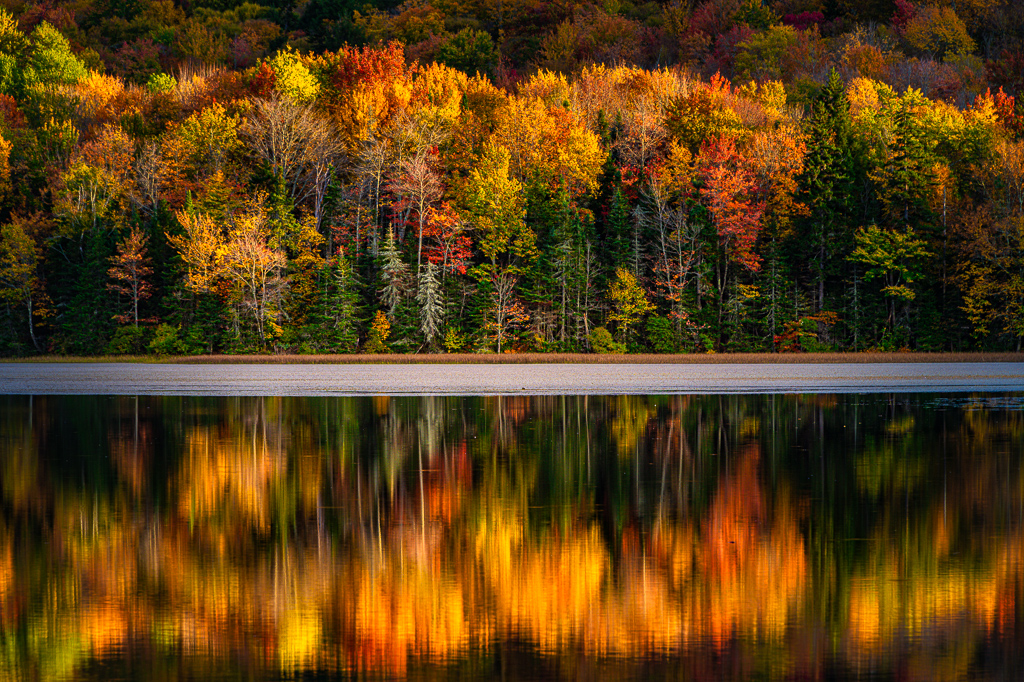
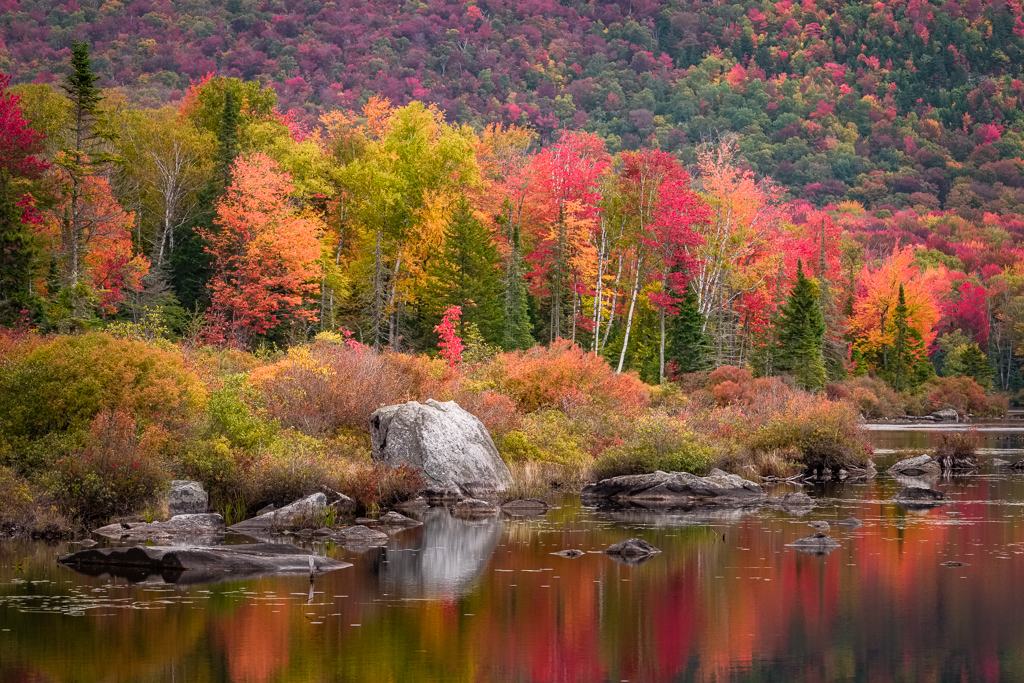
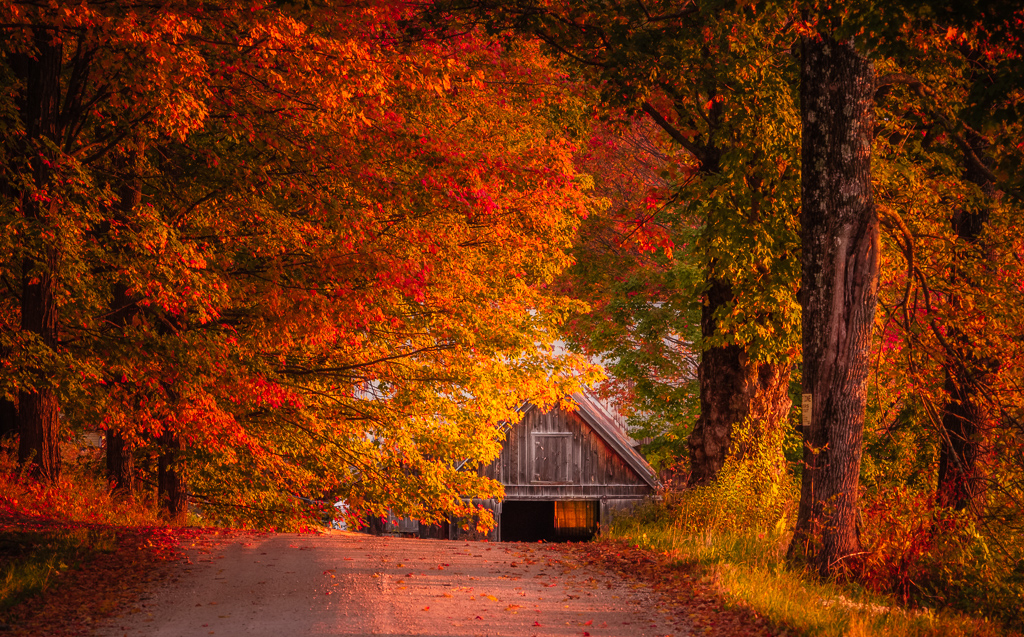
Autumn photos at a very basic level are no different than landscape photos taken during any other season. It would be best if you still had compelling compositions, complimentary light, and the right timing. The age-old adage that good photos capture lines, light, and moment. What should you pack in your camera bag when heading out. Most times, some hiking is involved, so keeping weight down is important. Your favorite camera body and two lenses are a good start. A wide-angle zoom and a telephoto zoom work well. Your two lenses should cover a focal length of 24mm on the wide end and 300mm on the telephoto long end. The wide-angle shot is the most common, but telephoto shots can be the most dynamic. All too often, we as photographers try to jam as much subject matter into the frame, and we end up with a busy image with no real subject for the eye to grab hold of. The telephoto lens lets you find that one element that makes this scene special. It allows you to make this image your own. When you dissect a scene down to its important parts and show them one by one, you stand a greater chance of capturing an image, no one else has created prior.
Looking past your camera and lens choice, we can dig deeper into the camera bag for some more essentials. There is much debate about filters, but a couple are very important to foliage photography. The polarizer is essential to eliminating the sky’s bright glare on the surface of water and foliage alike. Foliage photography differs from traditional landscape photography in one aspect; you often do not show the sky in foliage photos. The dramatic sky is generally not necessary for a good foliage photo. Often it creates to much dynamic range and requires exposure blending to render the foliage correctly. The polarizer reduces the sky negative effects upon the image. The second filter is a neutral density filter. If you only take one, make it a three-stop filter. If you like to work around moving water, this filter will reduce the light without changing color and use slower shutter speed to achieve the soft effect upon the water you seek. You can get ND filters in different stop values up to and including 15 stops. A three-stop should work for most cases. Also, a polarizer does cost you a stop tor itself, but it may affect the color.
A good sturdy tripod should be part of your arsenal while attacking good foliage photos. Often you will be working in low-light environments, and slow shutter speeds will be required. Today’s newer cameras have excellent image stabilization and offer low-noise high ISO options, allowing hand-held options. Nothing replaces a low-ISO tack sharp/crisp foliage photo – in my opinion. Some other lesser talk about but just as important items to carry is a dry cloth, a small hand blower, camera cable release, and extra batteries. The cloth and blower will come in handy, keeping your camera and lens dry and water droplets off the front of the lens. You will be working in bad weather and around water, so be prepared. Camera release takes away any chance of even a tiny camera shake, and the extra batteries guarantee no missed shots.
Looking past your camera bag and looking at the photographer. You can not spend large amounts of time out in the elements if you are not prepared. Autumn is Mother Natures way tucking her trees in for long winter. Autumn mornings in the north are chilly and wet many times. You can’t rule out early snow either. You need to be prepared. Dress in layers; as the day warms, you can remove layers. Make sure to have a waterproof layer – even if the weather forecast is dry. Don’t forget your hat and gloves. Good hiking boots are a must. You will encounter slippery conditions, especially around water—a couple of miscellaneous items that are very helpful, a good alarm clock, and some phone apps. Your best shots will come in the early morning. That is your best chance for mist, excellent light, and no crowds. Make sure to use your alarm clock. A good weather app like Weather Bug or Dark Skies can help you plan. Spend some time educating yourself on the weather. Understanding items like cold fronts, warm fronts, humidity, and dew points can help you predict when and when excellent conditions may appear. I find the more I prepare, the luckier I get. The PhotoPills app is also beneficial with predicting light and atmosphere for any location.
Those are my essential tools for successful outdoor fall foliage photography, I am sure I have left a few out, but if you have these items listed, you will be prepared for most conditions and enhance your chances of getting a winning shot. Good Luck.