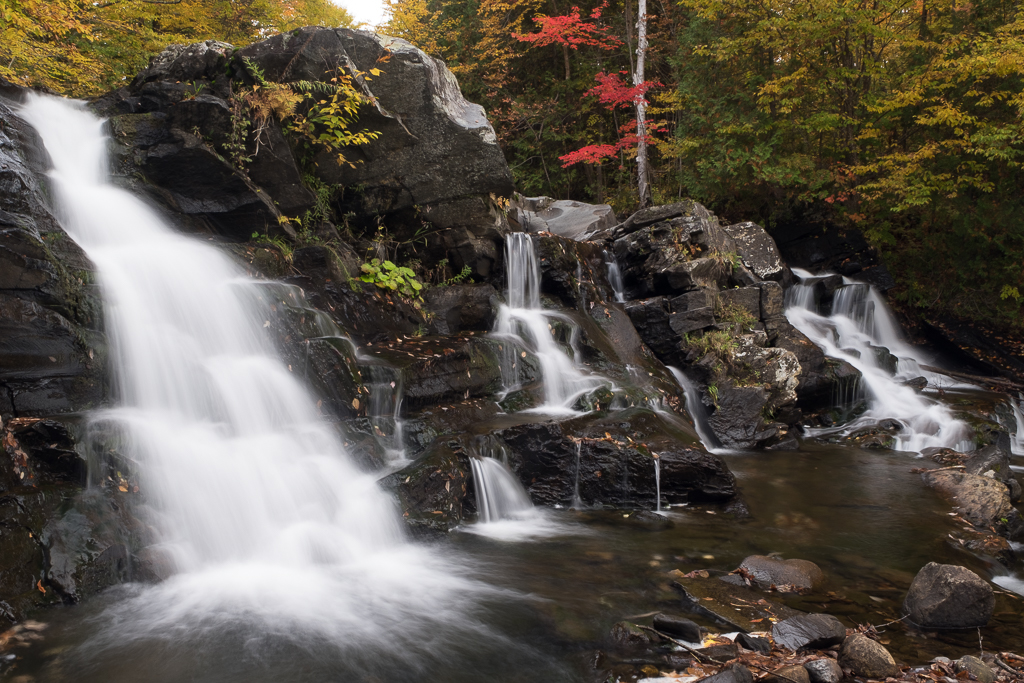
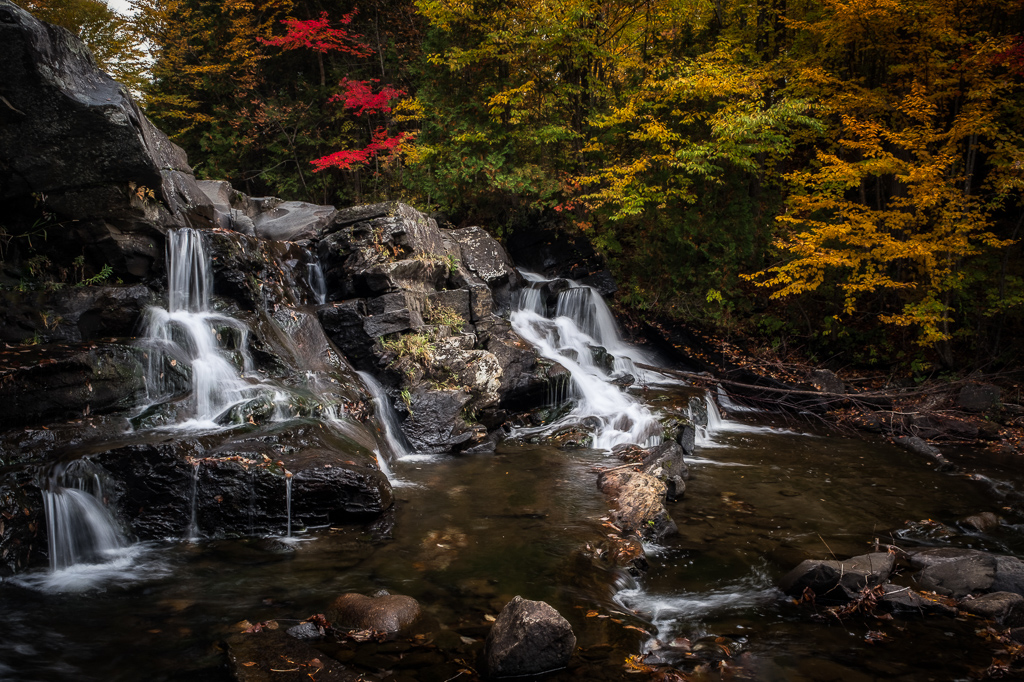
Vermont is known for many things, rolling green mountains, lovely covered bridges, and maple syrup. There is, of course, much more to the State, but these are three of the most popular. When you mix mountains with rivers, streams, and lakes, you will inevitably find waterfalls, and Vermont has plenty. Vermont waterfalls come in all shapes and sizes, and you can find them deep in the woods or right along the highway. Hikers follow them, kids swim next to them, and photographers fall in love with them.
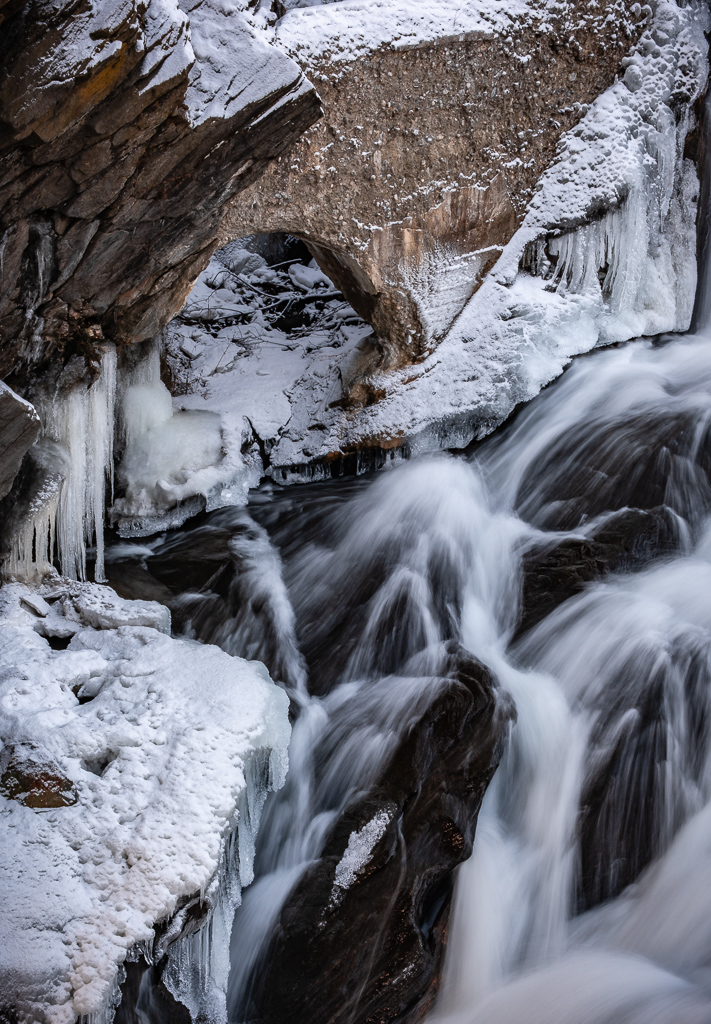
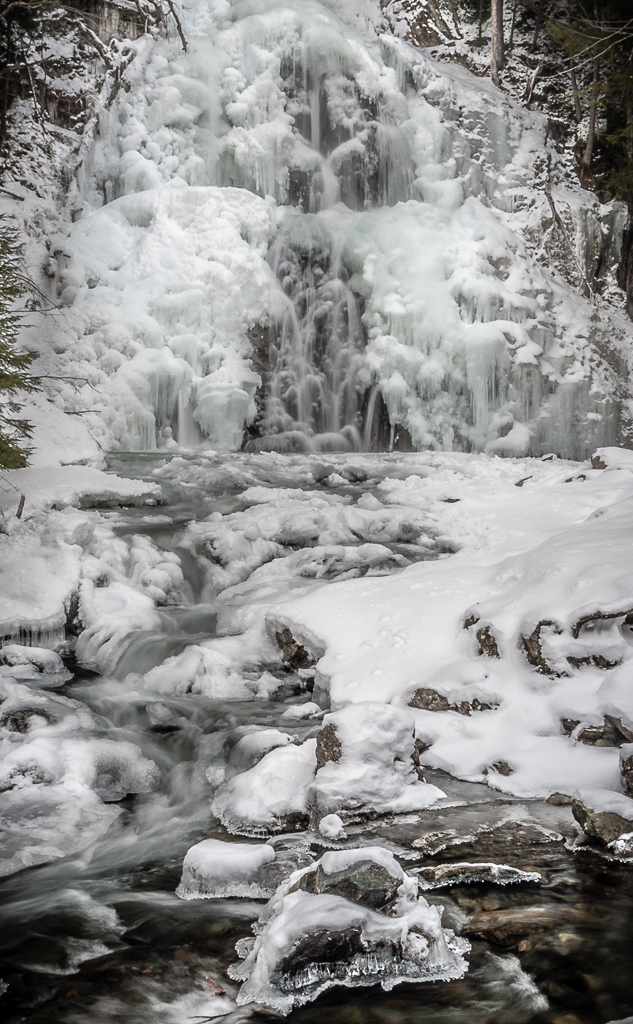
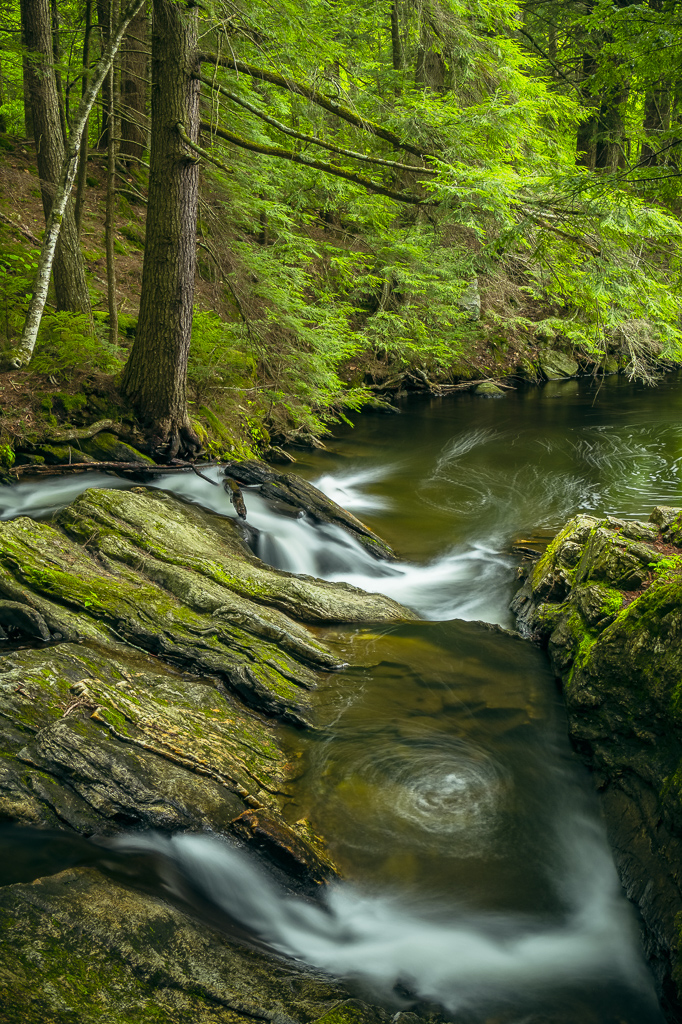
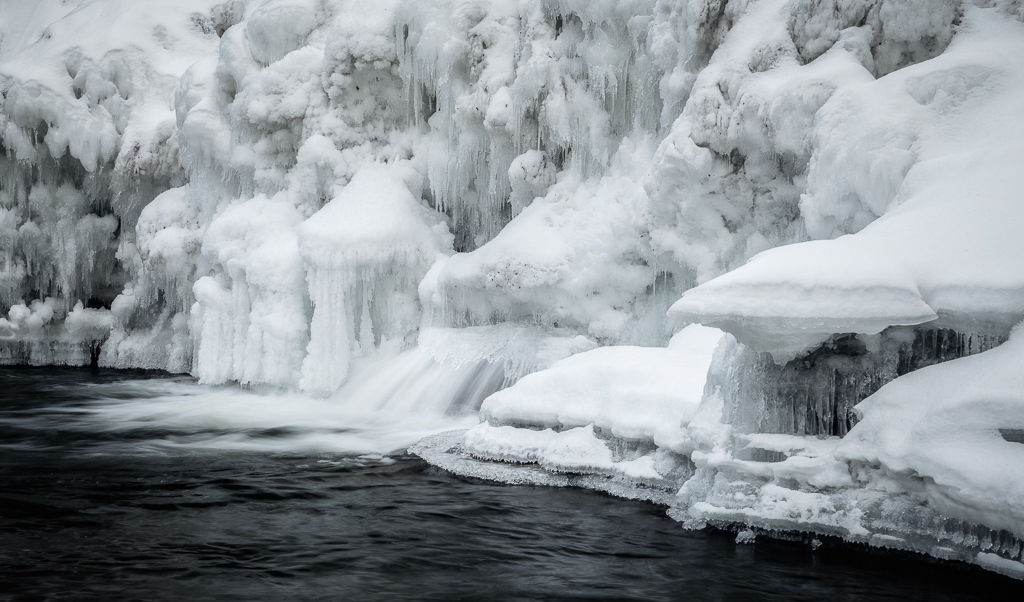
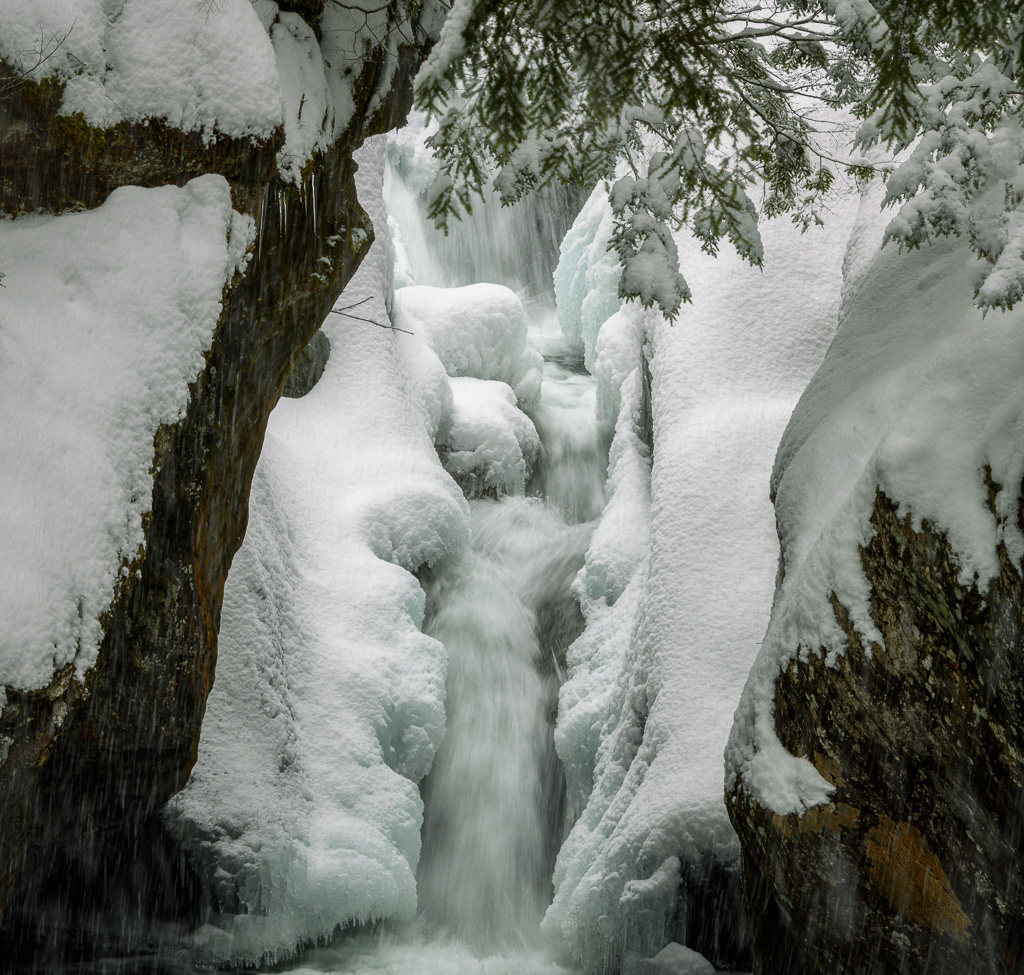
Much like a moth’s attachment to a light bulb, Landscape photographers feel contacted to waterfalls. Waterfalls offer photographers dynamic opportunities for image creation. Multiple compositions, like leading lines or S curves, provide an excellent starting point for impactful images. They transform themselves throughout the seasons, overflowing in Spring and frozen in winter.
Photographing waterfalls does require a good bit of planning and preparation. Once you have determined what your goal will be, you will have to make some decisions. First, of course, is where and when. Waterfall photography’s success is very much related to the weather. A bright sunny day is not optimal for waterfalls. The bright sunlight mixed with the dark shadows creates too much contrast and is not pleasing. Bright cloudy days offer the best chance for success. Cloudy days create pleasant lighting but, try to keep the sky out of your picture. The brightness will draw the viewers’ attention away from your main subject. Your next decision is equipment. Which lenses do you want to match with your camera body? I find that a wide-angle zoom that starts at 16mm and a telephoto zoom that reaches 200mm are the best options. Next, you need to decide on filters, tripod, cable release. Don’t forget to bring a lens cloth. You will be cleaning the water droplets off your lens glass often.
A sturdy tripod is a must, you will be using slow shutter speeds, and camera movement is your enemy. A circular polarizer is helpful (most consider it essential) to remove the bright glare off of the surfaces of the water and rocks. You may wish to pack a neutral density (ND) filter in your bag as well. They help you cut down the scene’s brightness and help achieve the slower shutter speeds you desire. A three or six stop ND filter should work. Next on your checklist is your protection from the elements and your safety. Proper clothing and footwear are essential—plan on getting wet. You will need functional boots and quick-drying pants. If the conditions allow and you can proceed safely, the best shots come from being in the stream, looking at the waterfall. Bring along some lightweight foul weather gear. Rainy days make for beautiful moody photos. Give lots of thought to proper footwear, rivers and streams are very slippery, and hopping rocks is a dicey proposition. You need footwear that allows you to grip the riverbed and also lets you enter the water when you want too. If it is winter, then extra careful planning is needed since getting wet is not only not wanted, but it could be dangerous.
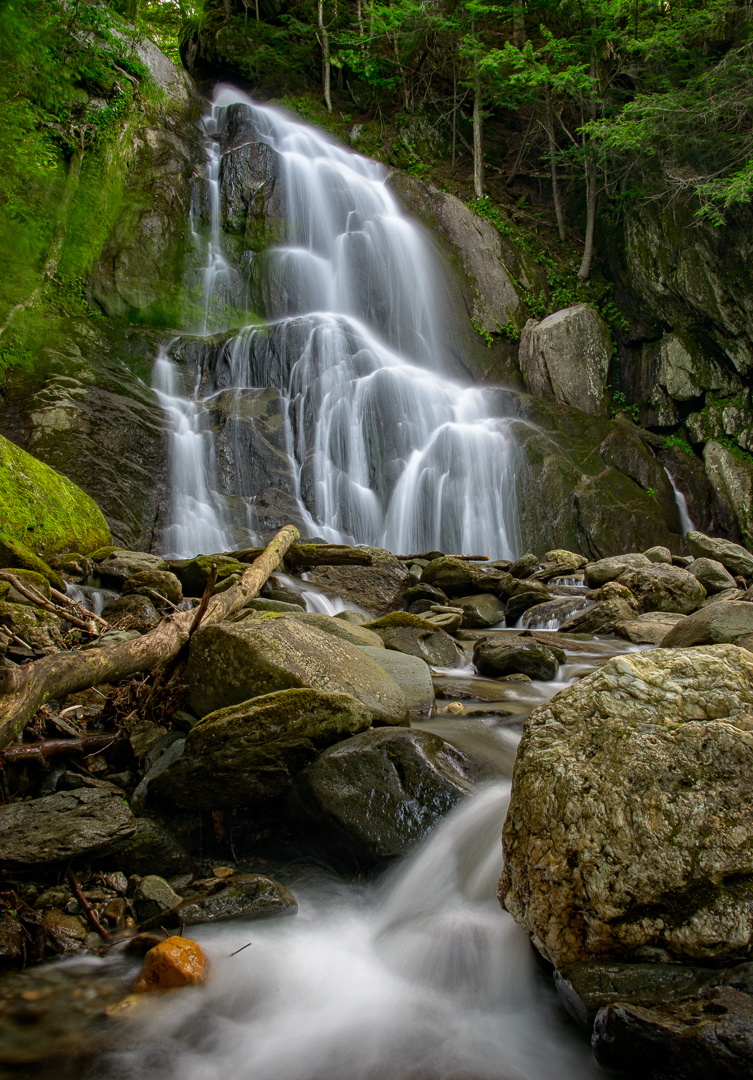
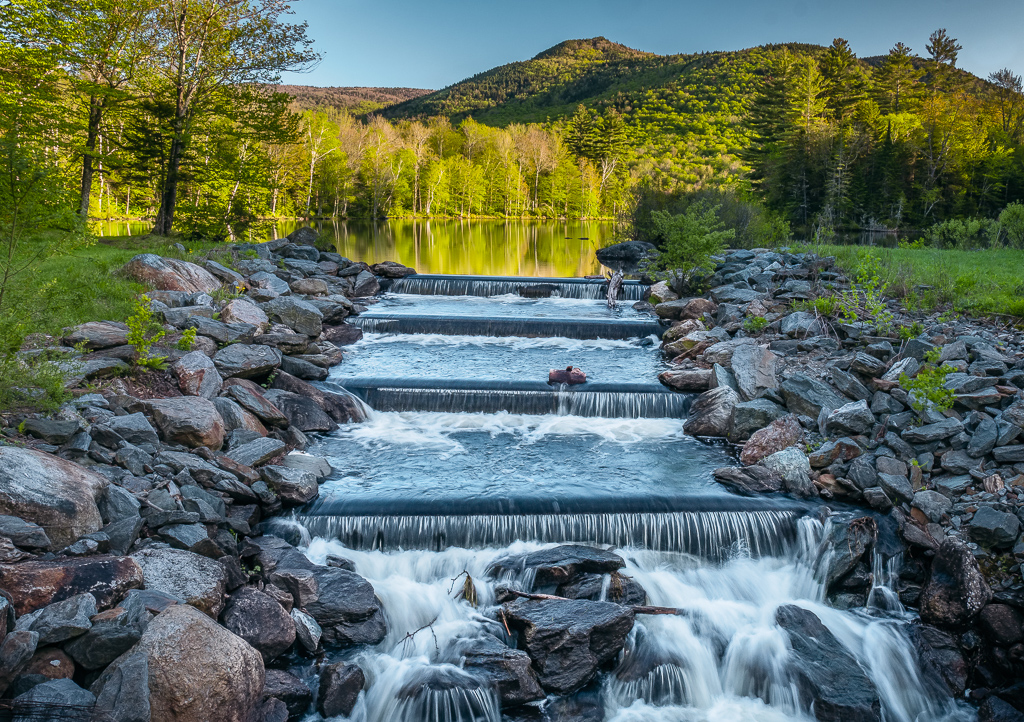
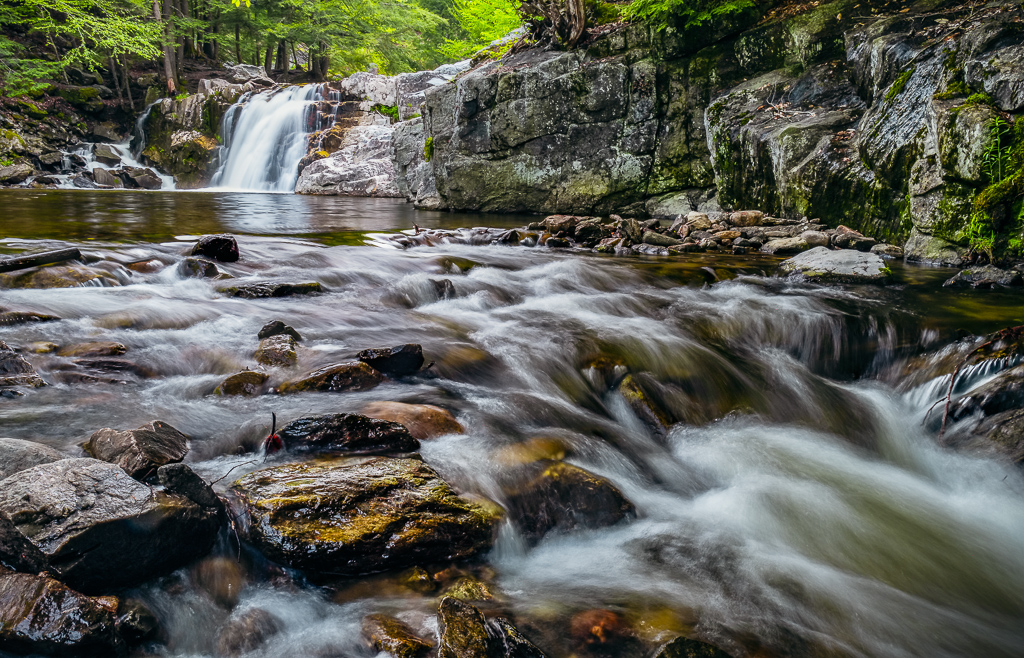
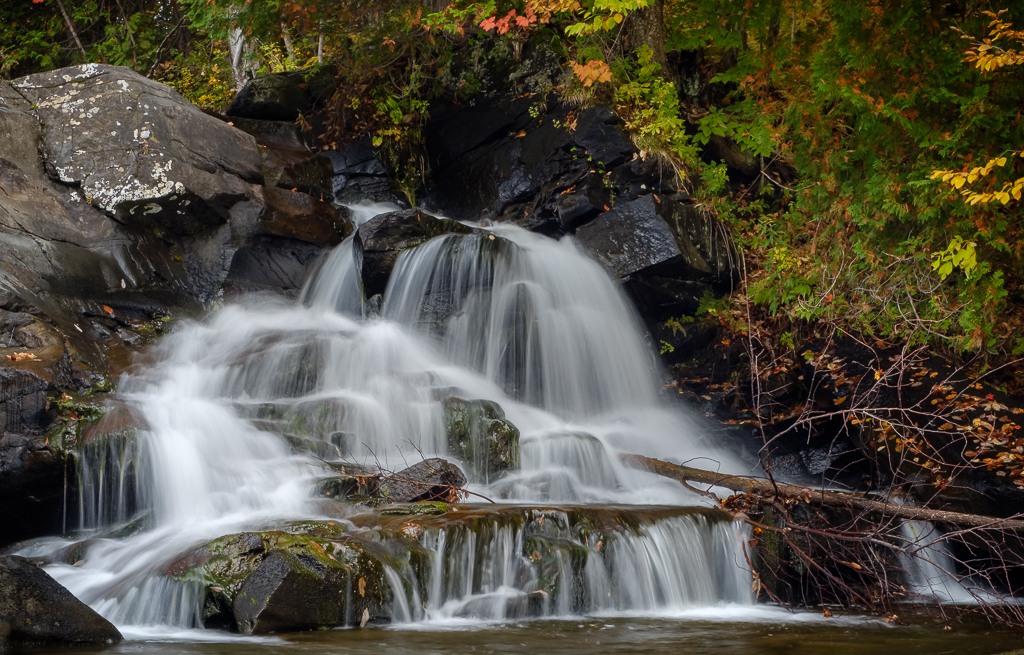
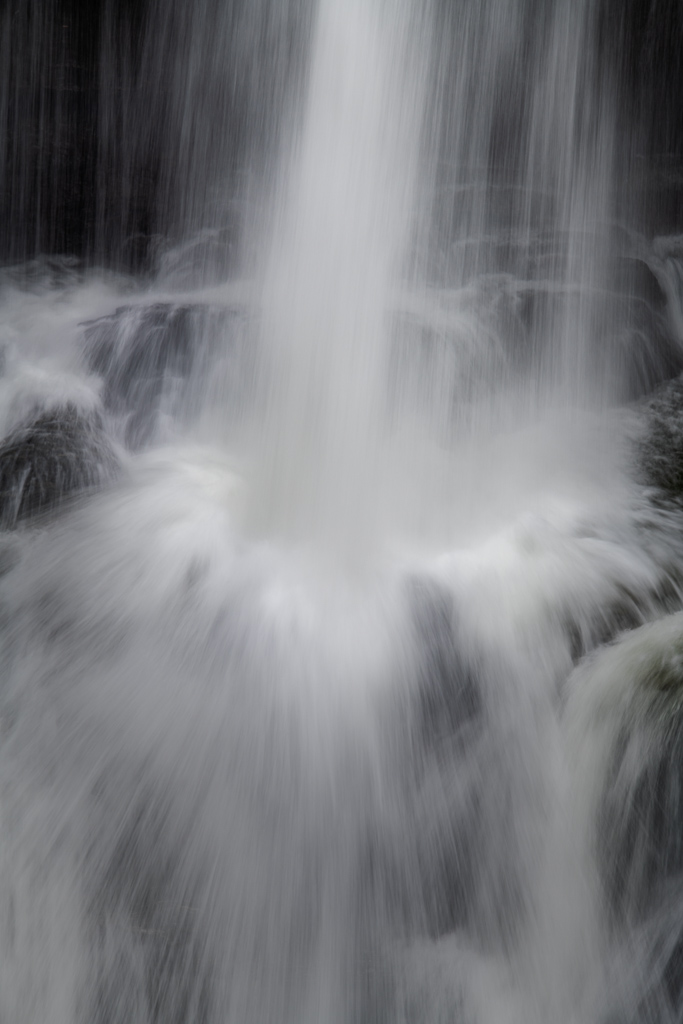
Your waterfall photography technique is an essential aspect of your pre-planning and all of your in-the-stream time. You will have several decisions to make before, during, and after your excursion. Your first in-the-moment decision will be composition, go wide, or more focused in your angle of view? Wide-angle photos are most popular around waterfalls and allow for the use of more compositional elements such as leading lines and foreground objects. If you choose to go wide, get down very low and try to add a very prominent object into your foreground. A large rock or boulder works nicely. Exposure is essential and critical to the success of your final image. Generally, using a slow shutter speed to show water motion is necessary. Keep your ISO at its lowest setting and use an aperture that provides a decent depth of field—keeping your focus point on your subject. If you get low and include foreground objects, you will most likely need to focus-stack your images. Focus stacking requires multiple photos with different focus points to be blended in post-processing for a top to bottom sharp image. I find that a shutter speed of a third of a second up to one second often produces a pleasing effect on the water flow. Be careful to watch the areas of pooling water and foam. These areas tend to get blown out when using long exposures. Dry rock surfaces can also be a distraction juxtaposed to the dark water if you can try to wet the rock surfaces, especially those closest to the camera.
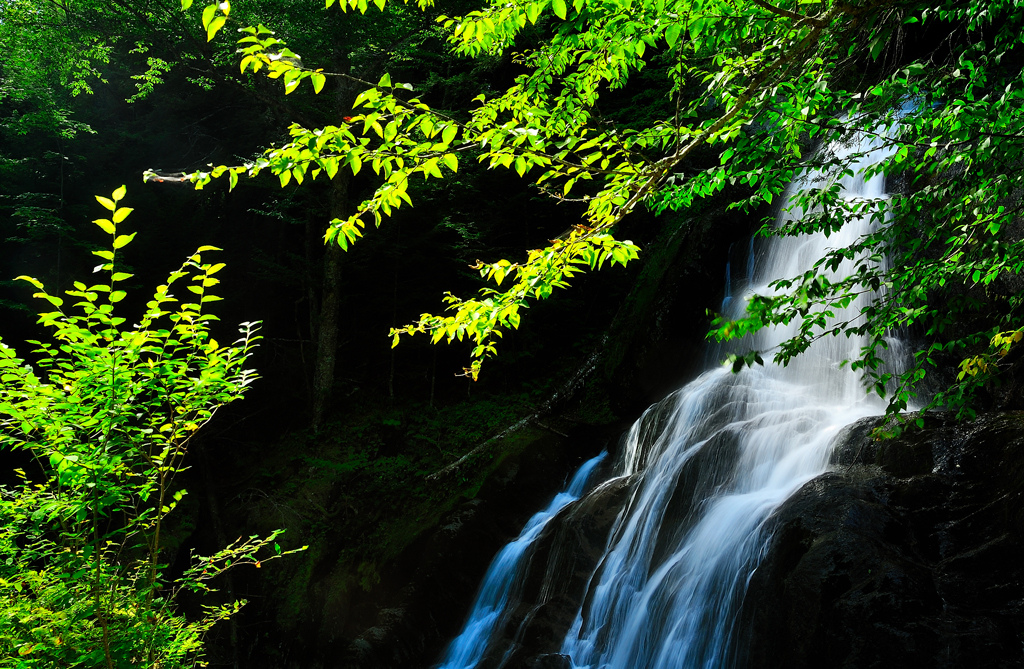
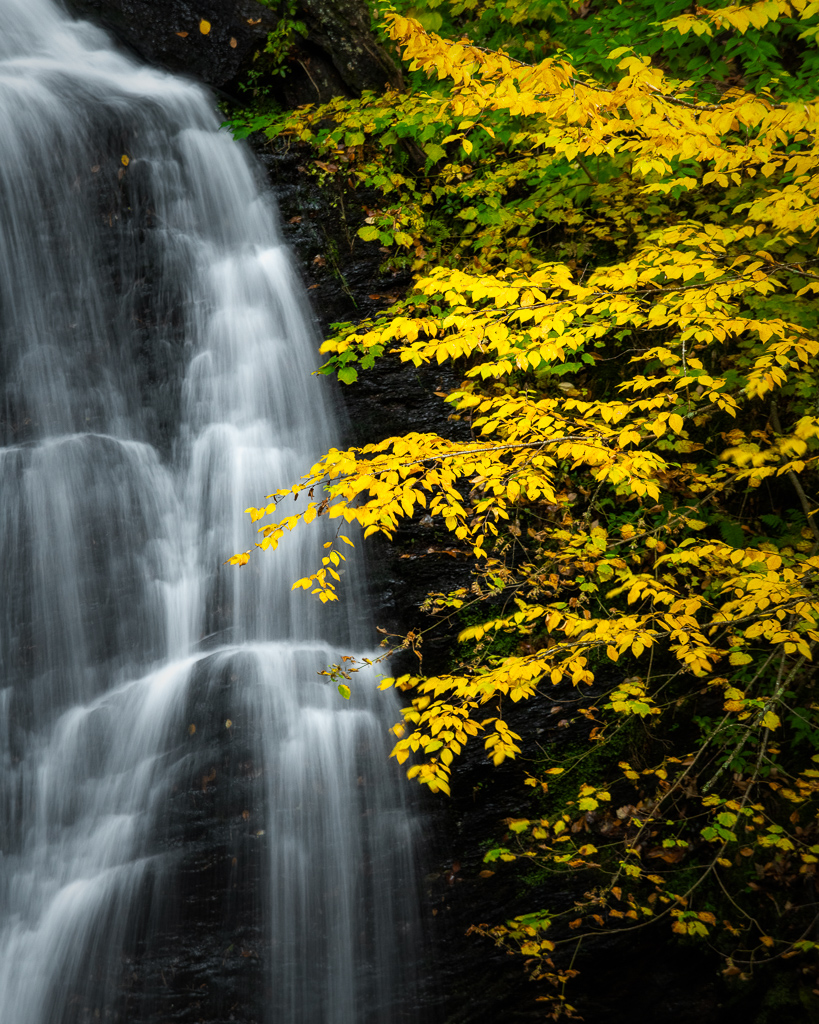
Along with sunny days, the wind is not friendly to your efforts. Woodland growth often lines the rivers and streams that support waterfalls. This vegetation is a colorful and crucial compositional element and, hopefully, not moving. If it’s windy, try to eliminate as much of it as you can or get the opposite and try to use long shutter speed to emphasize that motion. The vegetation will appear as long blurry wisps of lines.
Waterfall photography offers endless opportunities for photographers to practice their craft. It provides ample challenges regardless of your experience level. It will challenge you and make ample use of all your equipment or destroy it if you are not careful. It will help you expand your post-process knowledge and technique. I find waterfall photography one of the best landscape photography learning experiences available. Always clean all your equipment when you return home from a day at the waterfall and remember to keep safety a number one priority.